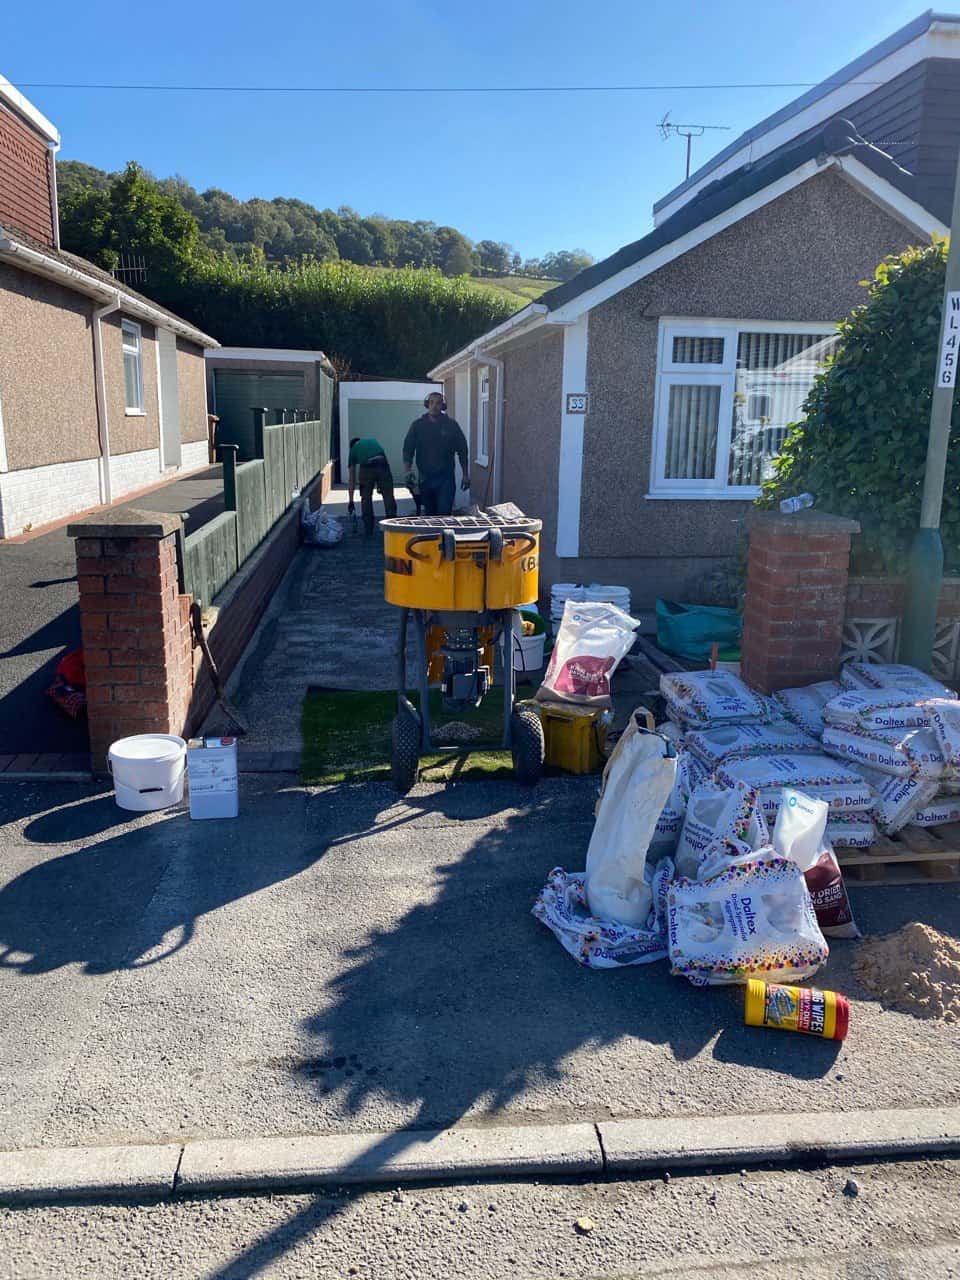
Introduction: Shingle driveways, also known as gravel driveways, are a popular choice among homeowners due to their rustic charm, excellent drainage, and cost-effectiveness. Installing a shingle driveway can be a DIY project if you have the right tools and some basic knowledge. In this step-by-step guide, Leeds Resin Driveways will walk you through installing a shingle driveway, helping you create a beautiful and functional addition to your home.
Tools and Materials You’ll Need:
Before you start, gather the necessary tools and materials:
- Gravel or crushed stone (choose the type and colour you prefer)
- Weed barrier fabric or landscape fabric
- Shovel and rake
- Tamper or mechanical compactor
- Wooden stakes and string
- Tape measure
- Wheelbarrow
- Edge restraint materials (optional, e.g., timber or metal edging)
- Gloves and safety goggles
Step 1: Planning and Preparation
- Measure the area where you want to install the shingle driveway. Mark the boundaries with wooden stakes and string to create a clear outline.
- Consider the desired thickness of your driveway. Generally, a 2-3 inch layer of shingle material is sufficient.
Step 2: Excavation and Grading
- Begin excavating the marked area to the desired depth using a shovel. Remove any grass, vegetation, or debris.
- Create a slight slope away from your home to ensure proper drainage. A 2% slope is typically recommended.
- Use a tamper or mechanical compactor to compact the soil evenly. This provides a stable base for your driveway.
Step 3: Weed Barrier Installation
- Lay down weed barrier fabric over the excavated area to prevent weed growth through the shingle driveway.
- Trim the fabric to fit the marked boundaries and secure it using landscape staples or similar fasteners.
Step 4: Edge Restraint (Optional)
If you want defined edges for your driveway, install edge restraints along the perimeter. Materials like timber or metal edging can help contain the shingle and prevent it from spreading.
Step 5: Shingle Material Application
- Start by adding a layer of gravel or crushed stone to the driveway area. Spread it evenly using a shovel or rake.
- Use a mechanical compactor or tamper to compact the first layer of shingle material. This helps to create a stable and firm surface.
- Continue adding layers of shingle material, compacting each layer as you go until you reach your desired thickness (usually 2-3 inches).
- Rake the surface to ensure it’s smooth and even.
Step 6: Final Compaction
Run the mechanical compactor or tamper over the driveway surface to achieve a well-compacted and level finish.
Step 7: Maintenance
Regularly rake your shingle driveway to maintain its appearance and prevent uneven settling. Additionally, replenish the shingle material to keep it at the desired thickness.
Conclusion: Installing a shingle driveway can be a rewarding DIY project that adds character and functionality to your property. By following this step-by-step guide from Leeds Resin Driveways, you can create a beautiful and cost-effective driveway that enhances your home’s curb appeal while allowing for excellent drainage. Enjoy the rustic charm and practicality of your new shingle driveway for years.
Call us on: 0113 5191138
Click here to find out more about Leeds Resin Driveways
Click here to complete our contact form and see how we can help with your driveway needs.